How To Build Simp...

How To Build Simple Survival Shelters

HOW TO BUILD SIMPLE SURVIVAL SHELTERS

Shelters come in all shapes and sizes with the most important being the home we live in. Creating a home away from home will provide safety, security, and comfort. Tents are typically what come to mind when considering staying outdoors; however, it might seem unreasonable to bring a tent to all adventures. Luckily, there are simple alternatives that can be more effective.

The first shelter that is often overlooked is clothing. Clothing can dramatically impact performance and safety in a wilderness setting. A few items to consider before leaving on any outdoor adventure include:
1. Check the weather and choose clothing to match the highs and lows

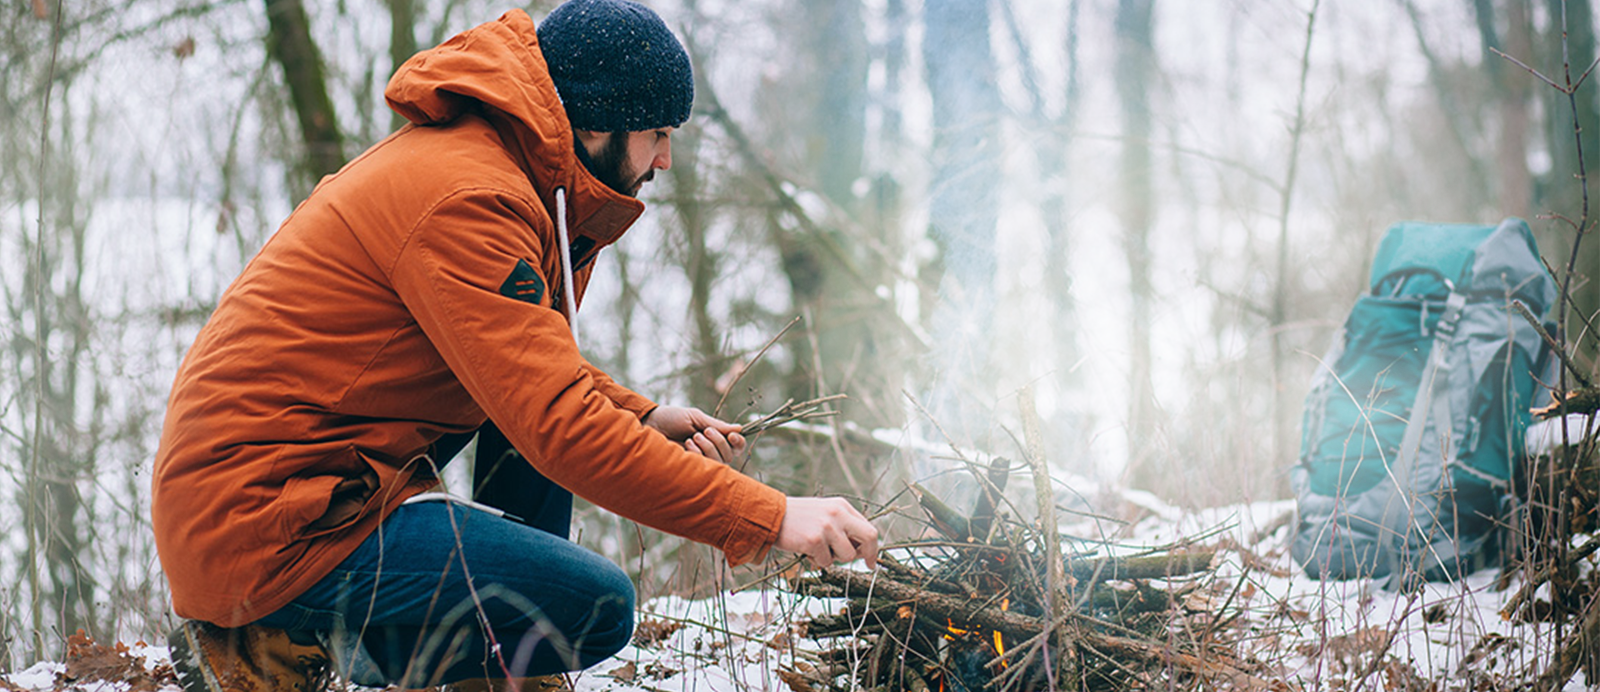
Over and underdressing can lead to catastrophe. It is good practice to imagine staying out in the lowest temperatures and highest temperatures of the current season. Of course, there are always outliers to this, an unexpected storm, heat wave, or drop in temperature, but generally identifying the high and low temperatures of the season are going to be sufficient. Having the ability to stay out in the environment with only the clothing worn at that time is beneficial.
2. Dress in layers

Now that the high and low temperatures are known, it makes picking out clothing that much easier. Start by laying out clothing for the lowest temperature that may be encountered. Then imagine that the weather changes to the highest temperature. Choosing appropriate clothing is essential for the new weather situation. This may be done by removing layers to allow heat to escape from the body. Dressing with a layering system allows an individual to stay warm – adding layers and removing layers when necessary. Remember removing gloves, a hat or even unzipping a coat is part of the layering system.

3. Don’t forget to accessorize

Outliers in the weather are what can be the most problem some. An unexpected rainstorm, high winds, or a sudden extreme drop in temperature can negatively impact clothing choice. It is never a bad idea to pack rain gear, gloves, a hat, extra socks or even an extra lightweight coat for unexpected situations. It is always easier to have it and not need it than to need it and not have it.
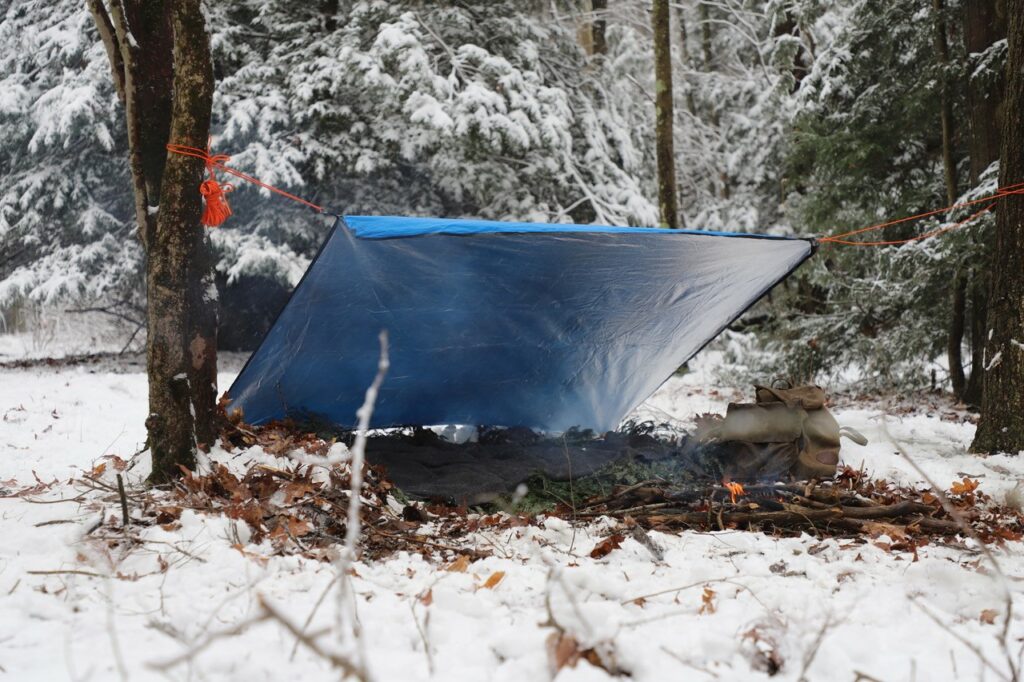
Beyond clothing, it is important to have an actual shelter to settle in. Most people think about tents and forget about tarps; however, a simple tarp shelter can be set up in under one minute and effectively protect an individual from the most adverse weather conditions. Think of this setup as an emergency tool to always carry along.

EMERGENCY TARP SHELTER – REQUIRED ITEMS LIST

  • 1. One 4×6′ or 5×8′ tarp – these can be found at any major box store such as Home Depot or Target.
  • 2. Four tent pegs – choose something small and lightweight,
  • 3. One 50’ roll of paracord.

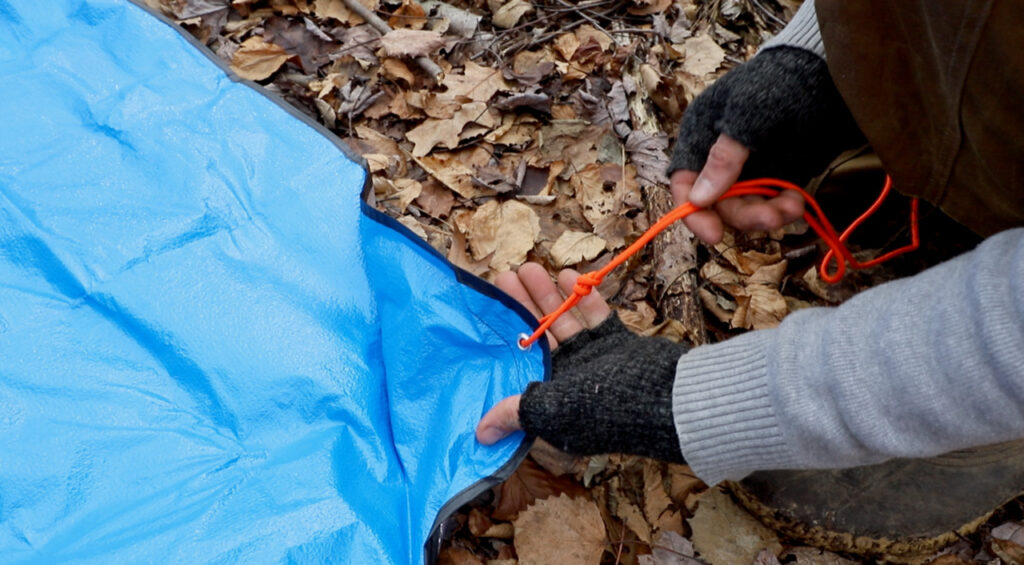
Next, prepare the tarp shelter. In order to do this, you need to first, lay out the tarp out in a fully opened position. Second, cut the paracord into pieces – 4×1’ and 2×15’. Third, on the widest ends of the tarp place each 15’ section through the grommet and secure with a knot near the grommet.  Fourth, place the 1’ sections in each grommet and tie a knot near the end of the paracord creating a loop. Finally, roll up the tarp with connected lines and pack away until needed.

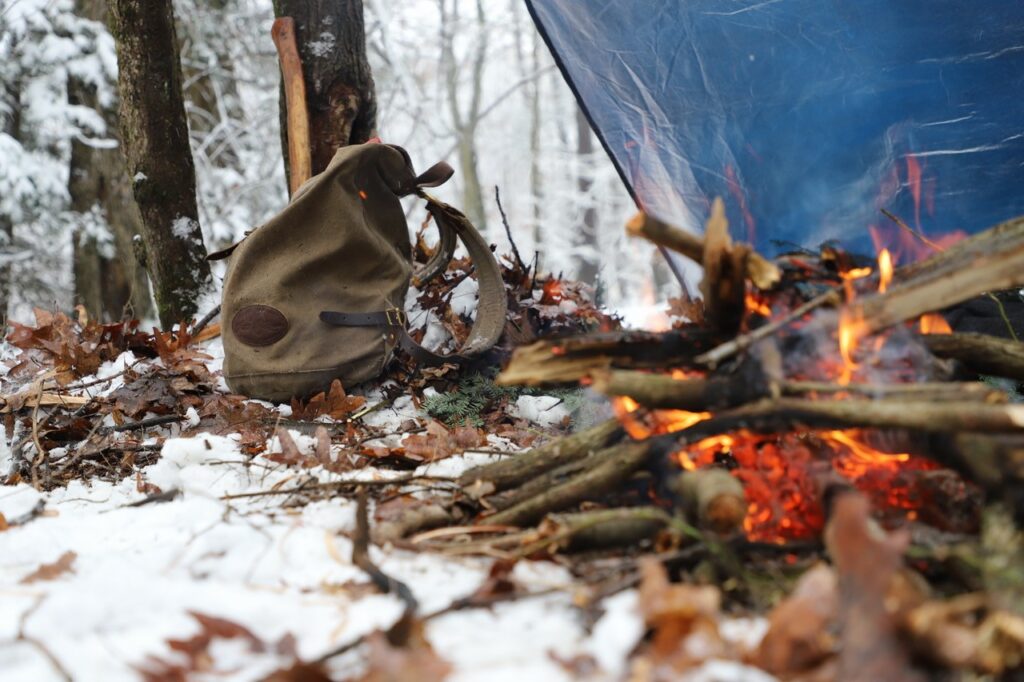
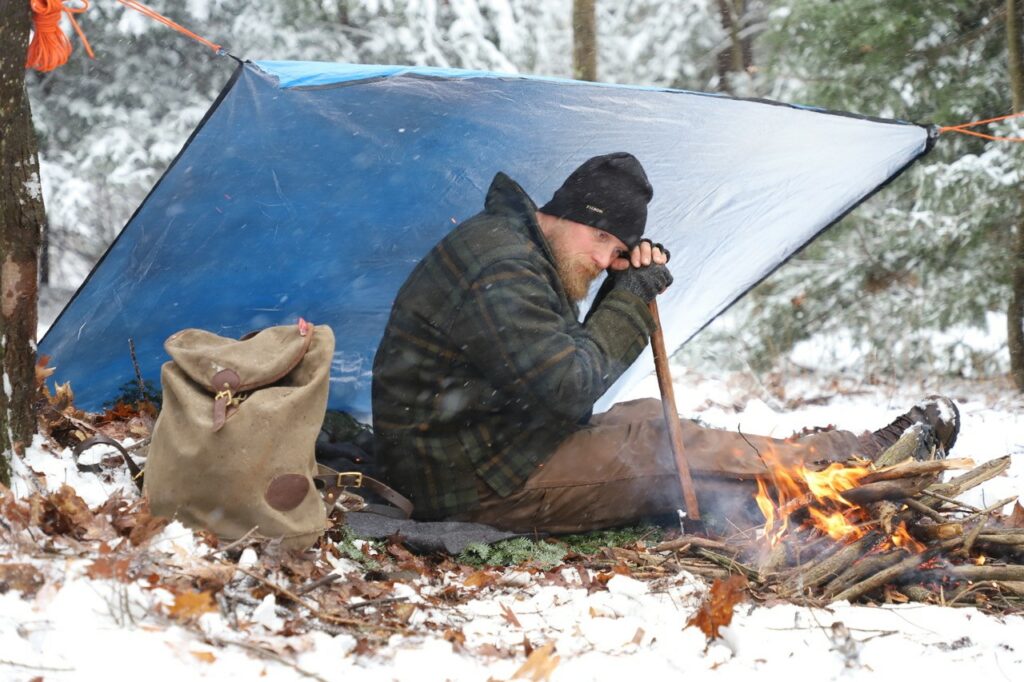
Once the tarp shelter is prepared it is time to practice the setup. There are two types of emergency tarp shelters that can be used. The first type of shelter is a lean to. A lean to shelter is secured to two trees and appears to be leaning forward with a wide open front. The most beneficial part of a lean to shelter is due to its open face as it allows for a long fire in front of the shelter. In extremely cold environments the shelter traps heat from the fire and creates a warm environment for the user. The downfall with a lean to shelter is that it does not give the user a sense of security due the openness of it. Also, if the shelter is positioned incorrectly to the wind it quickly becomes a wind catch voiding its primary purpose. The second shelter is called a plow point. A plow point shelter is secured to a tree by one anchor point the three remaining corners are staked to the ground. This type of shelter offers the user tremendous protection from in climate weather and is the fastest setup.
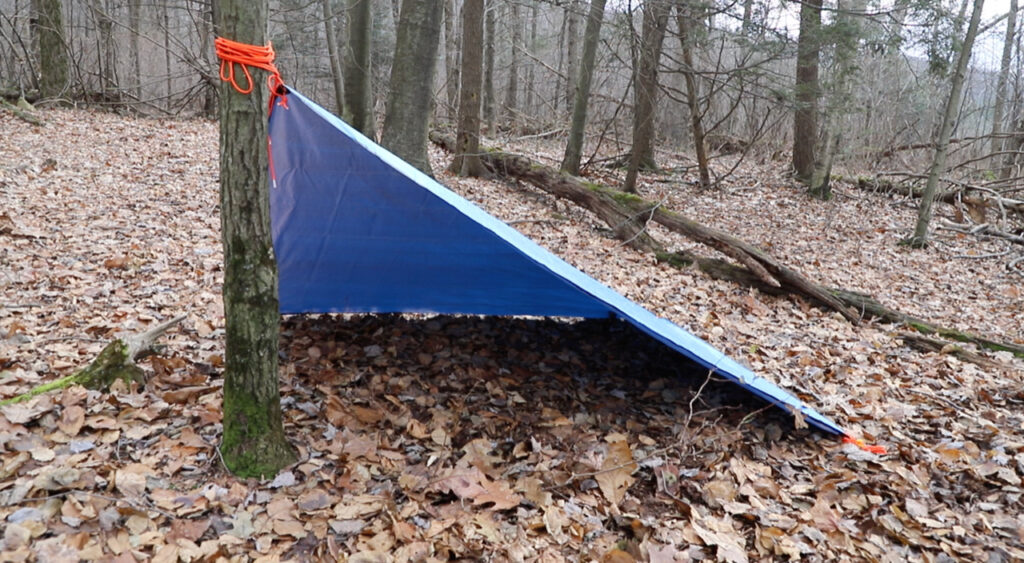
With minimal practice, an individual can become proficient at setting up both types of shelters. Most importantly, there is no hassle with carrying the tarp as part of your outdoor kit. Pair this with being dressed properly for the environment, and being safe in the outdoors just got that much easier.

Recent Post

FIRE STARTING 101 – LESSON 1 – THE BASICS OF STARTING A FIRE

The theory of starting a fire is simple. Fire is at the core of human existence as it provides warmth, utility, and comfort. Enabling us to cook food at camp, keep warm on a cold night, and purify water; it is easy to understand why fire is essential. Prior to starting a fire, we need to understand some fundamental principles. Having a reliable ignition source, collecting proper materials, and understanding the triangle of fire is the recipe for success. THE TRIANGLE OF FIRE Simply put, a fire is created when the triangle of fire is intact. The triangle of fire is an easy way to examine the necessary elements of fire. Each side of the triangle is comprised of one element: heat, oxygen or fuel. To best illustrate this, envision that each side of the triangle is pushing inward if any element is eliminated the triangle will collapse on itself and no fire will exist. Seems easy right? That’s really all there is to it. The complexity of fire making is having insight as to what element or elements are insufficient within the triangle. Possessing the knowledge to manipulate elements into their correct state will result in successfully starting a fire. 1. Heat – This is the element of the triangle that we introduce, whereas nature provides the other elements of fuel and oxygen. An open flame source provides the most reliable heat source and eliminates the need of using advanced techniques when starting a fire. Remember, heat can be dispersed quickly and ineffectively by an overabundance of fuel, moisture, or lack of oxygen. 2. Oxygen– Without a constant source of oxygen, the fire will quickly end. Always allow ample amounts of oxygen to enter into the fire lay. It is important that the fire can draw clean, fresh air in order to grow larger and stronger. When starting a fire, placing large amounts of wood over the heat source cuts off the oxygen flow, effectively smothering it. 3. Fuel – One of the most challenging elements of the triangle is choosing the correct fuel. It is extremely important to match the fuel source to the other two elements. When choosing the proper fuel source, visualize a lit match. If a large log were to be placed over the lit match, the flame would only able to heat a very small section of the large log. The log will never burn because there is too much fuel in comparison to the heat of the match. However, take the same match and place a toothpick sized stick above it. The flame from the match will engulf the small stick and ignite it into flame. The burning stick will now yield a larger flame allowing more sticks to be placed over it. Continue this process and soon you will be starting a fire. CHOOSING MATERIALS – TINDER, KINDLING, FUEL TINDER BUNDLE The tinder bundle is a small gathering of fine and course materials that will ignite when exposed to open flame. Although not needed to affect fire, a tinder bundle provides benefit to the user by extending and expanding the initial flame source. Some choices for a tinder bundle include birch bark, inter barks of trees, dried grasses, and even dried flower tops. Most ideal when creating a tinder bundle is to gather materials into a softball sized ball. TINDER Tinder material should be toothpick sized wood up to wood that is the size of a #2 pencil. It is important to gather a lot of material this size because it serves as the initial wood source that will help grow the flame. As more and more tinder ignites it will allow larger fuel sources to be added to further develop the fire. Some good choices when looking for this type of wood is to search at the base of pine trees, as they have small branches low to the ground that is dry and dead yet still attached to the tree. KINDLING Kindling is medium sized material within the fire lay. A good rule is to gather material the size of a #2 pencil up to pieces the diameter of your thumb. Make sure it is as dry as possible and from dead trees. Live trees or green wood is full of moisture and do not burn well. FUEL Larger campfire material is referred to as fuel. Fuel is wood the diameter of your thumb and larger. Fuel sources can be as large as a split log, the most typical campfire wood. This source of wood is going to maintain your fire for long durations, provide maximum warmth, and allow a beautiful bed of embers perfect for cooking. CHOOSING A FIRE STARTER Your decision to carry a specific fire starter should be taken with much care. In the wilderness we do not have control over the environment, however, we do have control over how we ignite our fires. In my opinion, an open flame source is the most reliable method. In fact, we immediately have fire once we ignite our match; all we need to do is Shepard that flame into something more, something larger and stronger. With so many fire starters on the market, how do we decide? The best answer to this question is it depends. Consider your needs, are you carrying fire starters for emergency situations or just to start a campfire for enjoyment on the trail? Matches, such as UCO Stormproof Matches, are a great choice as they are water and weather-proof. These fire starters will burn in even the most adverse weather conditions. Heat, oxygen, and fuel must all be present when starting a fire. Once started, we can cook, warm ourselves, and purify our water sources. We can eliminate much struggle when starting a fire by carrying reliable fire starters and understanding how fire is developed. Don’t forget that the elements within the triangle of fire must work in conjunction with each other. Multiple elements may be out of sync with one another but referring back to the triangle of fire will give you the correct solution. Starting a fire can be a vital lifeline that we cannot do without, but most of all it adds much enjoyment to our outdoor adventures.

How To Start A Fire Using a Ferro Rod

The reason the ferro rod is referred to as the ultimate emergency fire starting device is because it is impenetrable to all weather and has an extremely long lifespan. It will not be affected by rain, cold, snow, extreme heat, or even submersion in water. No matter what the weather conditions, a strike of the rod will always result in an intense spark.  The rod itself is also usable down to its core. This means that if there is any rod material remaining there is a spark left to be had. Using this device does require some technique. Don’t worry though, with a few tips it is super easy to get started! 1. Place the rod securely down into your tinder source. If you are making fire on loose dirt use a split stick to create a solid surface. 2.  Place the supplied striker against rod. Be sure to keep the striker at approximately 45 degrees. 3. Begin to scrap the striker along the rod while maintaining the 45 degree angle. Apply a generous amount of pressure to the rod with the striker. The key is to remove as much material from the rod as possible. BOOM FIRE! It is important to be mindful that the ferrocerium rod only throws sparks. Those sparks need to ignite another material in order to create actual flame.  Dried grasses There are numerous materials that will ignite with just the spark of a ferrocerium rod. Some of these include, dried grasses, birch bark, inner bark of trees, very fine wood shavings and also modern fire starters such as UCO sweetfire biofuel tabs.  

INSTAGRAM

@edog_usa